Installing Google Authenticator pbis-open and freeradius
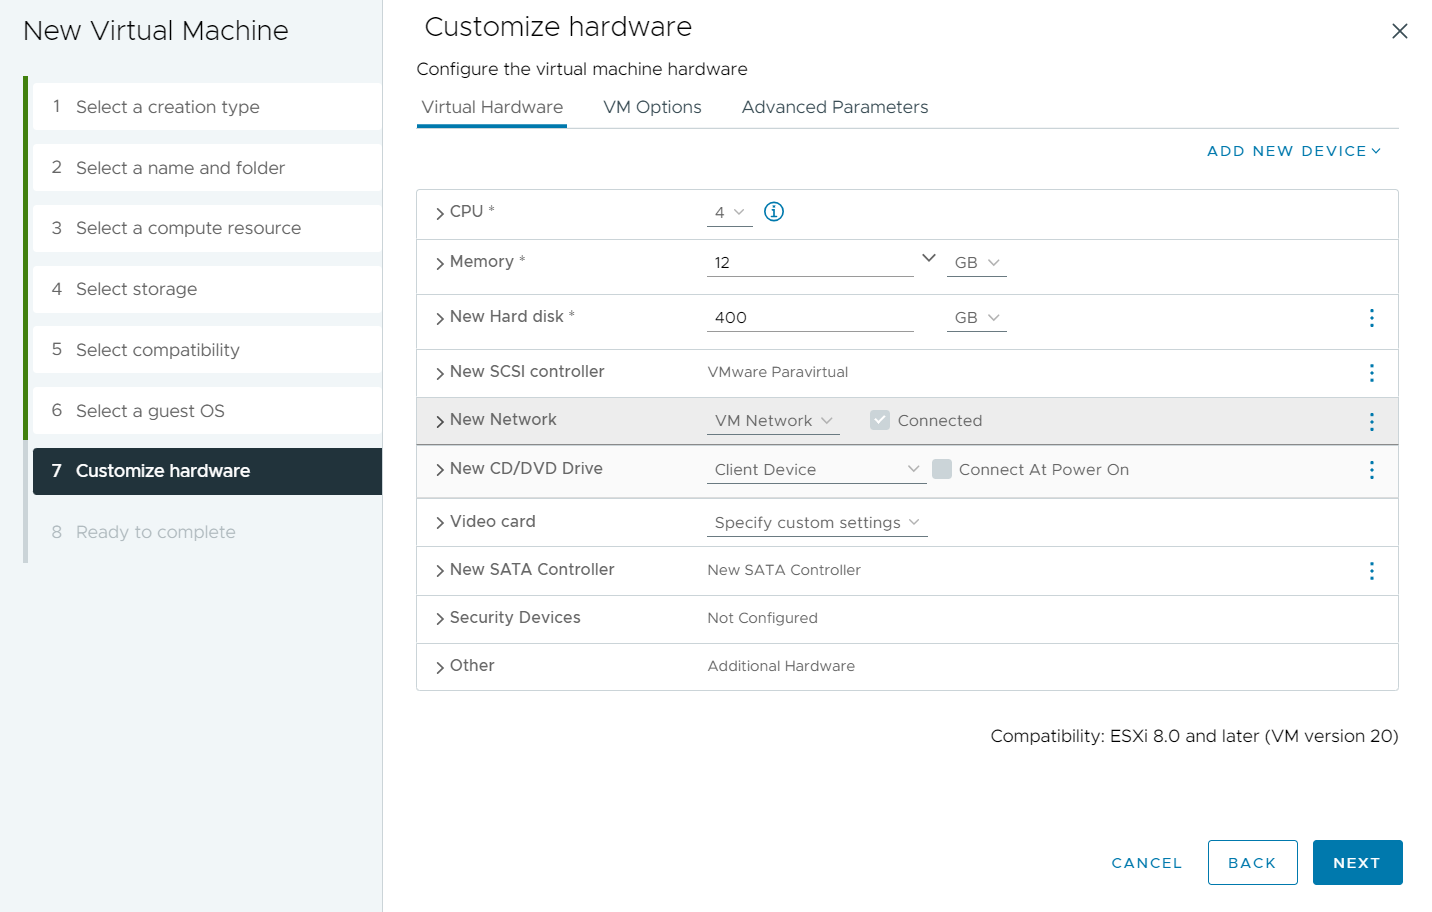
Now that we have the VM and Ubuntu installed, we now need to install our packages.
First make sure you have a DNS record for the server in active directory, as we are going to need it. This must be done first!
Also create a AD security group named:
GG_S_GOOGLE_AUTH_DISABLED
Once done, go back to your console and run the following:
sudo su
enter your password
apt-get update
apt-get dist-upgrade
say Y when prompted
apt-get install ntp
say Y when prompted
apt-get install ntpdate
should not prompt
ntpdate pool.ntp.org
Now we are going to install pbis-open for our connection to Active Directory
wget -O - http://repo.pbis.beyondtrust.com/yum/RPM-GPG-KEY-pbis|sudo apt-key add -
wget -O /etc/apt/sources.list.d/pbiso.list http://repo.pbis.beyondtrust.com/apt/pbiso.list
apt-get update
apt-get install pbis-open
say Y when prompted
Once that completes we can Join our Ubuntu server to the domain.
domainjoin-cli join yourdomain.com administrator@yourdomain.com
change the above statement to reflect your environment.
Don't reboot just yet we are not done.
Run the following:
/opt/pbis/bin/config LoginShellTemplate /bin/bash
/opt/pbis/bin/config AssumeDefaultDomain true
/opt/pbis/bin/config HomeDirTemplate %H/%D/%U
And Clear cache
/opt/pbis/bin/ad-cache --delete-all
now go ahead ad reboot, then reconnect to your sever.
Now we are going to install google authenticator and freeradius and other required packages
Once logged in, same as before:
sudo su
enter password
apt-get install build-essential git libpam0g-dev libqrencode3
say Y when prompted
apt-get install libpam-google-authenticator
say Y when prompted
apt-get install freeradius
say Y when prompted
Now time to edit raidus files:
vi /etc/freeradius/radiusd.conf
Scroll down until you see this:
And change it to this
user = root (instead of user = freerad)
group = root (instead of user = freerad)
Save changes and exit vi
Edit the file /etc/freeradius/users
vi /etc/freeradius/users
This entry is towards the top. Un-comment it out and and make it look like the next entry:
DEFAULT Group == "GG_S_GOOGLE_AUTH_DISABLED", Auth-Type := Reject
Reply-Message = "Your account has been disabled."
DEFAULT Auth-Type := PAM
Save and close the file.
Now edit the file /etc/freeradius/sites-enabled/default
vi /etc/freeradius/sites-enabled/default
Search for “pam” by typing /pam
And un-comment the line it to read: pam
Save and close the file.
Now edit the file /etc/pam.d/radiusd
vi /etc/pam.d/radiusd
Comment all line from this file and add the following:
auth requisite pam_google_authenticator.so forward_pass
account required pam_lsass.so use_first_pass
Save and close the file.
Now edit /etc/freeradius/clients.conf
vi /etc/freeradius/clients.conf
find client some.host.org
modify it with the following
client {
shortname =
}
Save and close the file.
Now restart free radius:
service freeradius restart
Now edit /etc/skel/.bashrc
vi /etc/skel/.bashrc
add the following line under alias l='ls -CF'
alias gauth= 'google-authenticator -tdf -l "Horizon View" -r 3 -R 30 -w 17 -Q UTF8'
Save and close the file.
reboot


Comments
Post a Comment