How to get llama 2 up and running , in a VM, with no GPU, and limited memory on Ubuntu

Image
OK I decided to write this up after unsuccessfully being able to find all the required info I needed in one place. In this setup we will be using Ubuntu Server 22.04.2 LTS as the OS. I have this running on a home lab ESXi server 8, on a HP Compaq Pro 6300 SFF CPU = Intel Core i7-3770 Installed Memory 16 GB I have some 10K SAS drives installed for the VM's If you have not already, navigate to  Get Ubuntu Server | Download | Ubuntu and download the 22.04.2 LTS ISO Next Lets create our VM that we are going to run this in. *Note Im using ESXi however you can probably do this in Workstation, Fusion, VirtualBox etc The main things to note on the VM creation. Set Ubuntu 64 bit as the guest OS Set your CPU relevant to the physicals CPU, I will be starting with 4 VCPU Set your Memory to as much as you can tolerate, I will be using 12 Disk Space - we are creating a 100G swap file, and the rest of the file can take up some room , so more is better if you can afford it Dont forget to add the U

Windows 11 GA Instant Clone Lab with unsupported hardware workaround \ test deploy

 Windows 11 has finally GA'ed so now its time to do some testing.

If you don't have the required hardware no problem, we can apply some work arounds.


In our Setup we will be using the following Setup

Horizon 8

vSphere 7.0U3

Windows 11 GA


First download the Windows 11 ISO, put it on a datastore

Create a new VM for the parent VM.

I chose Windows 10 as the Guest OS

Confirm that Secure Boot is enabled

And left everything as Default

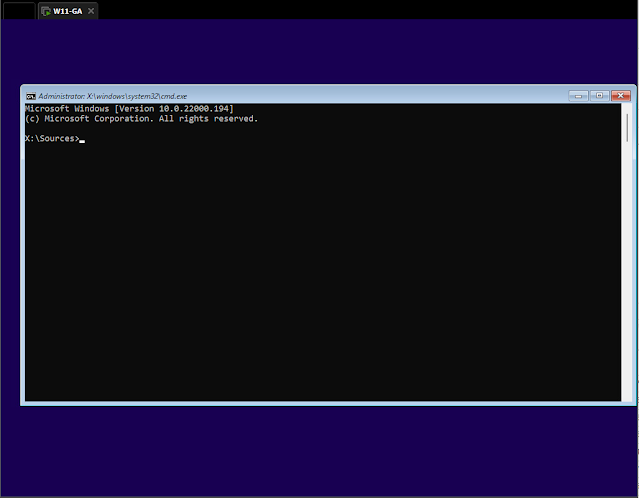
Now Console into your VM and power it on, Once you get to the  'Windows Setup' screen press Shift +F10


This will bring up a command prompt, from here type regedit and hit enter


From this point navigate to
HKEY_LOCAL_MACHINE\SYSTEM\Setup

Right-click on Setup key and select New -> Key option. 
Name it LabConfig 

Select LabConfig key and then create the following 3 new DWORDs and set their values to 1 to bypass or disable TPM 2.0, Secure Boot and RAM amount checks

BypassTPMCheck
BypassSecureBootCheck
BypassRAMCheck


Close regedit, and the command prompt and continue with the install as usuall.


Once this completes you should be ready to start configuring the VM.


After you rename your PC it does a reboot


Make sure you select Sign-In Options (unless you want to use a MS account or SSO)

And Choose Domain join instead


I Just choose the default here


At this point it will reboot and auto login the user


At this point you could just use the admin account and install Horizon.
I prefer to use the Administrator account, delete the newly created account before deploying


Enable it and set a password, then reboot


Login as Administrator and reboot, if you dont reboot you will get a warning when trying to delete the other account

Like This


After a reboot you should be able to delete it

At this point Eject the Windows ISO if you haven't already and install VMware tools


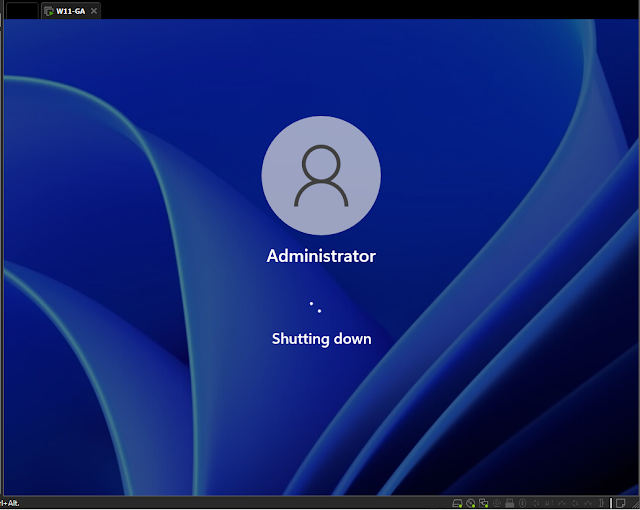
Reboot Shutdown Take a snapshot


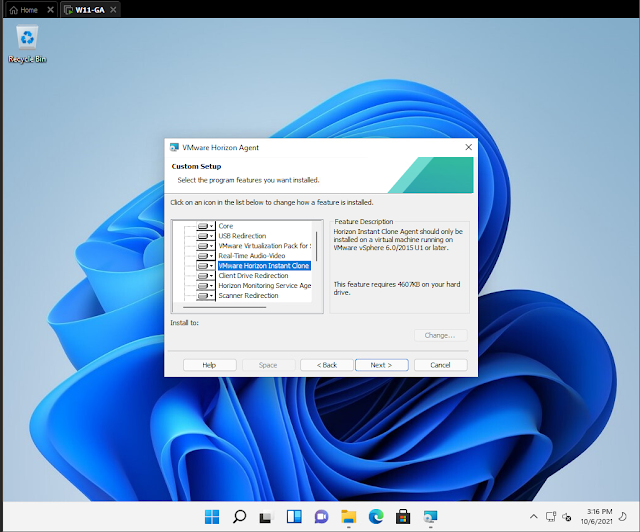
Power on and install the agent


After installing the agent and rebooting, you are now required to use CTL ALT DEL to log in

Shutdown and take a new snapshot

De


And thats it, you IC should deploy and you can connect with the client.


Comments

Popular posts from this blog

vSphere 7 - Specify a vmkernel adapter to use for NFS datastores Step By Step \ Walkthrough on a DVS

Horizon View 2-factor Authentication for Free! with Google Authenticator or others

Windows 11 Insider Preview Instant Clones Horizon 8 2103 walkthrough - Part 1 Image setup