Configure samba and winbind
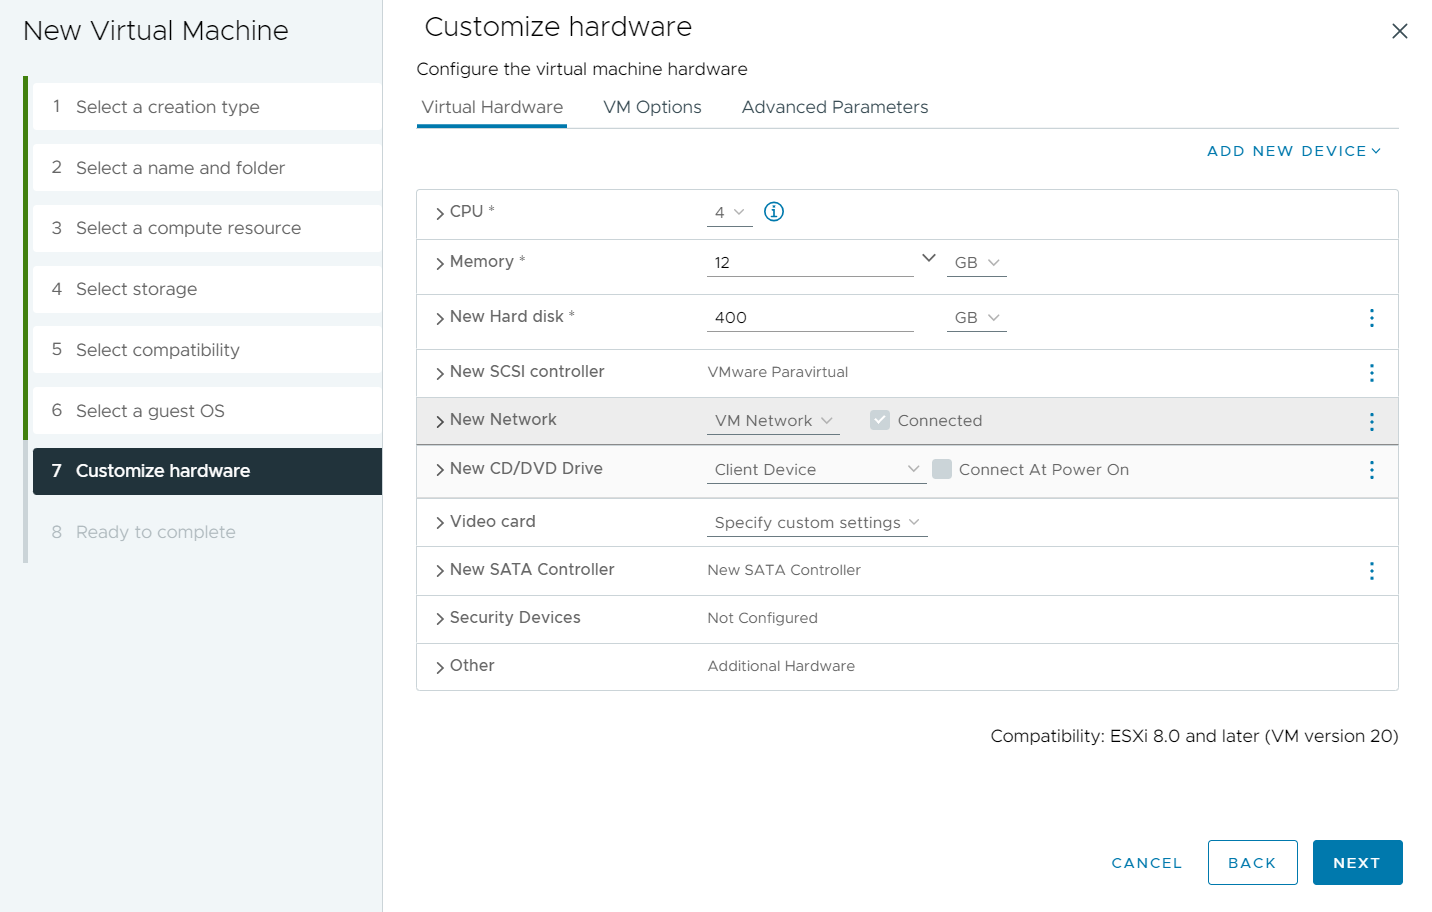
In this section we will finish setting up the VM for an instant clone deployment.
I highly recommend using an SSH session for this as there is allot of info that needs to be copy and pasted and it will may life much easier.
Open a shell session, make your self root
#sudo su
we need to edit /etc/samba/smb.conf file, I use vi as my editor but you can use what ever you want.
# vi /etc/samba/smb.conf
For my environment my DNS domain is HOME.LAB and the NETBIOS domain is HOME
I updated the file with the following info:
[global]
security = ads
realm = HOME.LAB
workgroup = HOME
idmap uid = 10000-20000
idmap gid = 10000-20000
winbind enum users = yes
winbind enum group = yes
template homedir = /home/%D/%U
template shell = /bin/bash
client use spnego = yes
client ntlmv2 auth = yes
encrypt passwords = yes
winbind use default domain = yes
restrict anonymous = 2
So i changed the smb.conf file from this:
To this:
Save your changes and close the file.
Next update the /etc/krb5.conf file.
note that the kdc IP is your domain controller.
[libdefaults]
default_realm = HOME.LAB
krb4_config = /etc/krb.conf
krb4_realms = /etc/krb.realms
kdc_timesync = 1
ccache_type = 4
forwardable = true
proxiable = true
[realms]
HOME = {
kdc = 172.16.14.2
}
[domain_realm]
HOME = HOME.LAB
.HOME = HOME.LAB
So I update the krb5.conf file from this:

to this:
Save your changes and exit the file.
The last file we need to edit is the /etc/vmware/viewagent-custom.conf file to tell it we are using samba for offline domain joining.
# vi /etc/vmware/viewagent-custom.conf
look for #OfflineJoinDomain=samba
and remove the (un comment) the line so it looks like this:
OfflineJoinDomain=samba
Save your changes and close the file
At this point we are ready to join this Master to the domain.
# net ads join -U Administrator
Once you have joined the domain start and enable the services we need:
# authconfig --enablewinbind --enablewinbindauth --enablemkhomedir --update
At this point you can run commands to verify you are connected, can enumerate users and groups:
# wbinfo -t
# wbinfo -u
# wbinfo -g
running wbinfo with the -u or -g switch should show you users in your domain.
At this point shut down the VM, take a snapshot and proceed to the next section:


Comments
Post a Comment