How to get llama 2 up and running , in a VM, with no GPU, and limited memory on Ubuntu

Image
OK I decided to write this up after unsuccessfully being able to find all the required info I needed in one place. In this setup we will be using Ubuntu Server 22.04.2 LTS as the OS. I have this running on a home lab ESXi server 8, on a HP Compaq Pro 6300 SFF CPU = Intel Core i7-3770 Installed Memory 16 GB I have some 10K SAS drives installed for the VM's If you have not already, navigate to  Get Ubuntu Server | Download | Ubuntu and download the 22.04.2 LTS ISO Next Lets create our VM that we are going to run this in. *Note Im using ESXi however you can probably do this in Workstation, Fusion, VirtualBox etc The main things to note on the VM creation. Set Ubuntu 64 bit as the guest OS Set your CPU relevant to the physicals CPU, I will be starting with 4 VCPU Set your Memory to as much as you can tolerate, I will be using 12 Disk Space - we are creating a 100G swap file, and the rest of the file can take up some room , so more is better if you can afford it Dont forget to add the U

Windows 11 Insider Preview Instant Clones Horizon 8 2103 walkthrough - Part 1 Image setup

 Just a reminder , non of this is supported by Microsoft, VMware, or any other software vendor at the time of this writing, any thing you do is for testing purposes. Enjoy!

----------Updated Guide for Windows 11 GA build can be found here https://jeramythompson.blogspot.com/2021/10/windows-11-ga-instant-clone-lab-with.html ------


Now that you have your Windows 11 Insider Preview up and running (if not see this post) we can get an Instant Clone pool up and running.


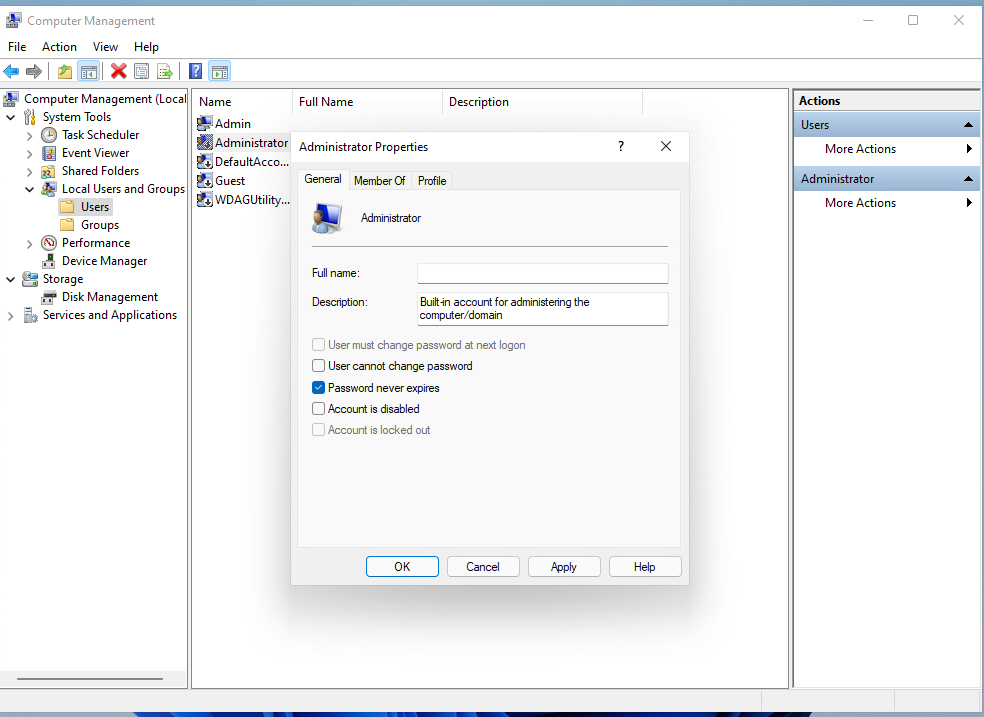
First thing we need to do is enable the local administrator account, and setup a password if not done already. Open Computer management (run compmgmt.msc).


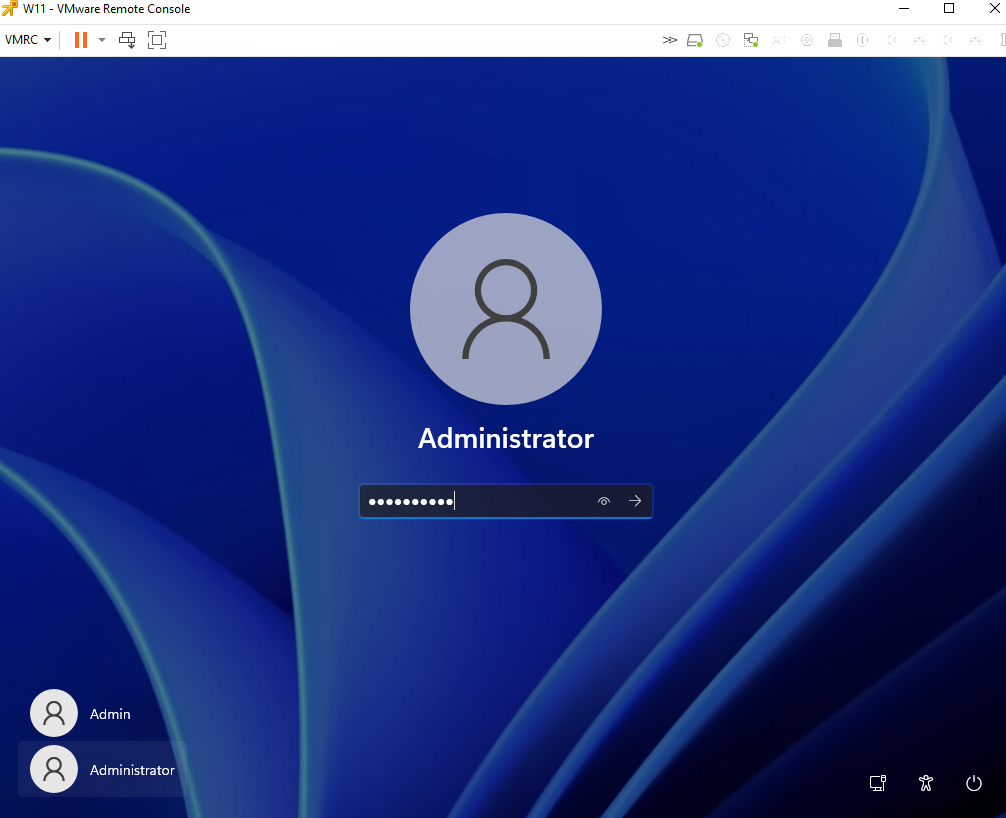
Next log out of your temp admin you setup originally and log in as Administrator.


You will get some prompts for the new user setup.


Open up Computer Management and delete the old user:


Go ahead and reboot.
Once you have rebooted log back in as the local Administrator Profile.
Right click the Windows Icon and choose System:


In System Click on Advanced System Settings


click on User Profiles, and Delete the old users profile (should say Account Unknown )


At this point you are in a good spot to shutdown the VM and take a snapshot.


Next Lets get the OS Optimization tool and the Horizon 2103 Agent copied to the desktop.
You can find the OS Optimization tool here:
https://flings.vmware.com/vmware-os-optimization-tool


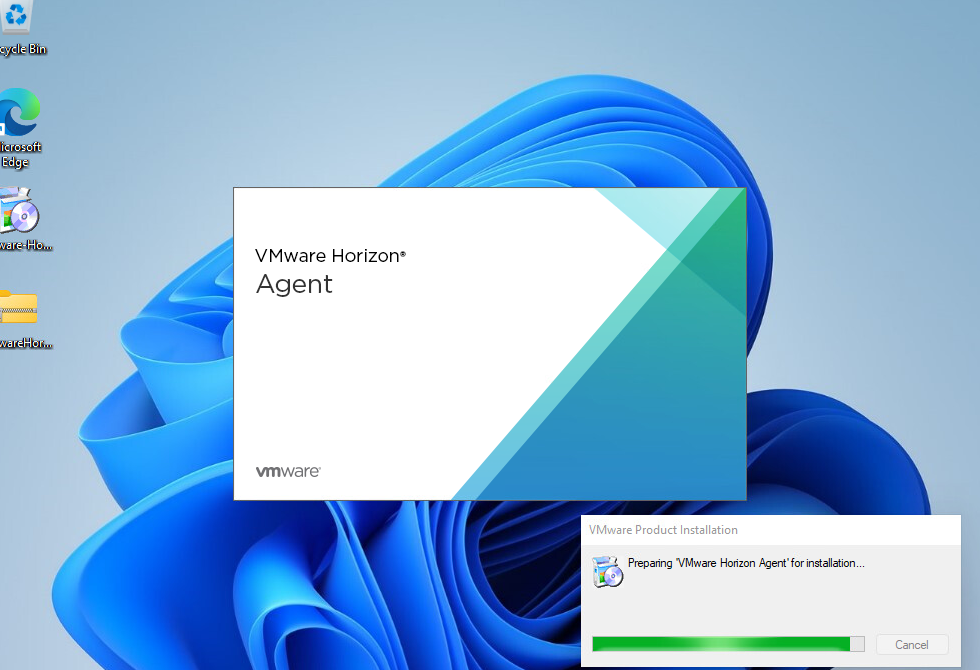
First We will install the Horizon Agent.
We will go through the process, and select every option in the agent.


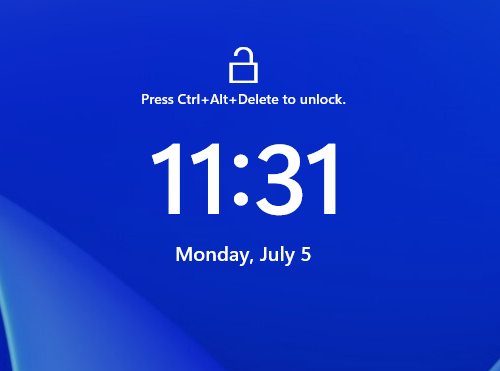
After you have installed and rebooted for the Horizon Agent you will notice you are now prompted to press CTL ALT DEL to login instead of swiping up


Login and Extract the optimization tool and run the .exe as an Administrator.


Click Analyze


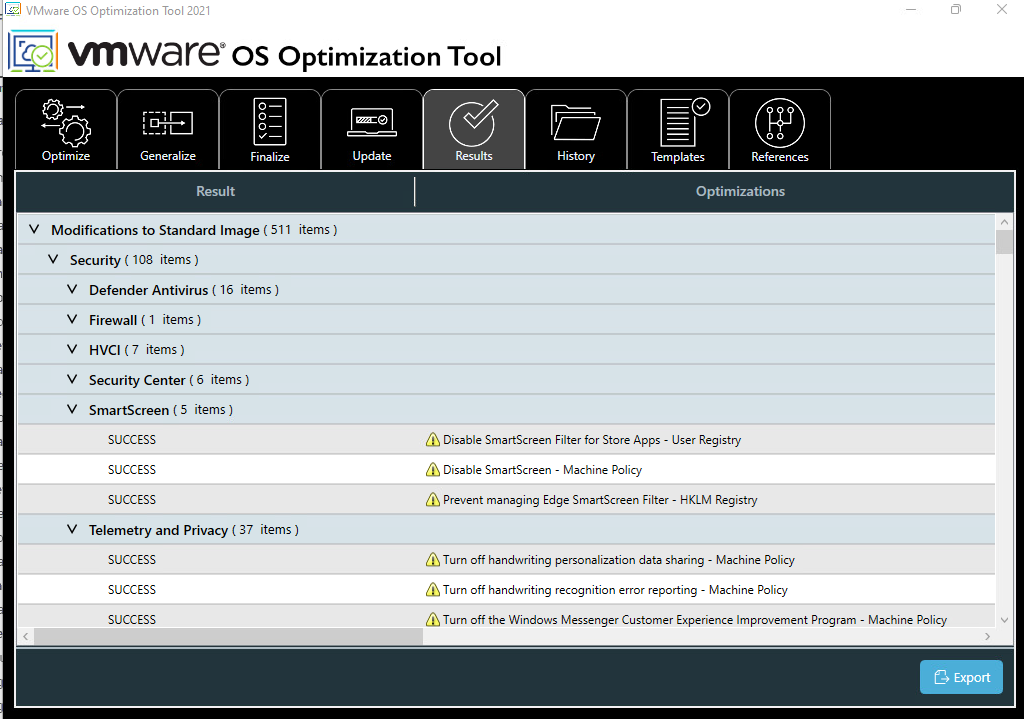
In our case we just want to get up and running as fast as possible so click apply. If this was a production setup you would definitely want to go through every option to make sure they match your companies requirements.


Lastly click the Finalize Tab, and click Finalize on the bottom Right


It seamed like it took an hour, but when finished you will get the following:


Shutdown the VM, and take your snapshot.


We are ready to deploy our Instant Clone pool, follow along in part 2 Here.

Comments

Popular posts from this blog

vSphere 7 - Specify a vmkernel adapter to use for NFS datastores Step By Step \ Walkthrough on a DVS

Horizon View 2-factor Authentication for Free! with Google Authenticator or others