Welcome to part 3 of deploying Red Had Enterprise Linux as Horizon View Instant Clones.
In this section we will go through customizing RHEL and installing the Horizon Agent.
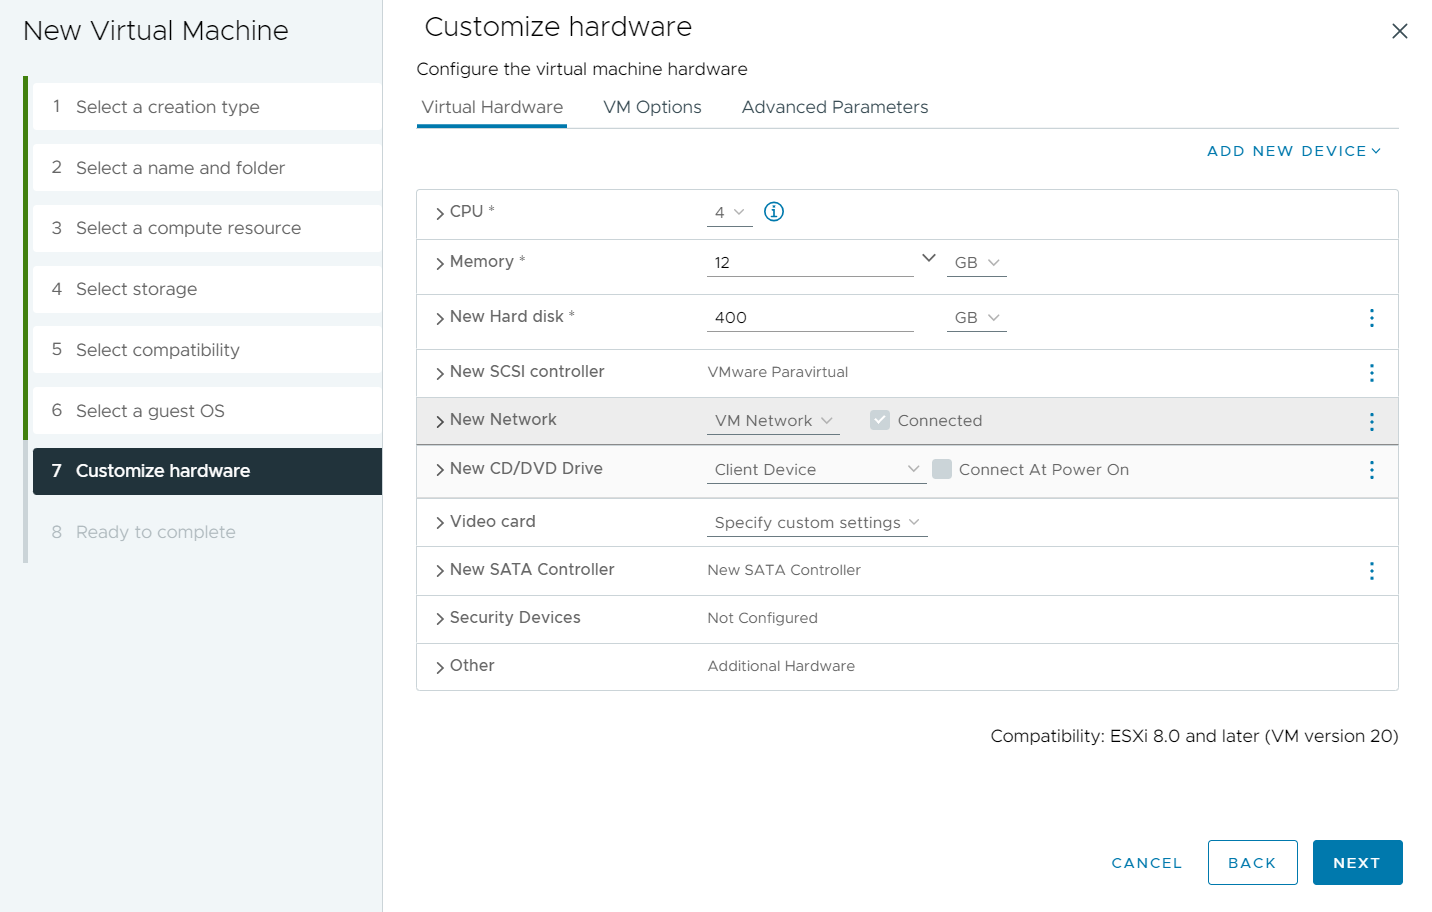
At this point you should have already created the
VM in part 1, and installed RHEL
in part 2, go ahead and power on the VM and open a console to the VM (I prefer to use VMware workstation , however a browser is just fine)
Once we have the VM on and we are consoled into the VM we are presented with a login screen.
-Note that this shows the user we created during the install, It is optional but we will remove this from our linked clones as we dont want every one logging into the system to see this.
Once Logged in you are greeted with the GNOME welcome screen. This would be helpfull if your users were using persistent desktops, however we don't want to see this every time a user logs in so we will disable this as well.
Go ahead an open up terminal , and run the following to remove the GNOME welcome screen
sudo rm /etc/xdg/autostart/gnome-inital-setup-first-login.desktop
Typing sudo in front of everything, so go ahead and make your self root
sudo su
OK now we are root. Next we are going to remove the user list from the login screen, open gdm for editing by running the following:
vi /etc/dconf/profile/gdm
Enter the following information :
user-db:user
system-db:gdm
file-db:/usr/share/gdm/greeter-dconf-defaults
Save the file.
Now edit the login screen settings
vi /etc/dconf/db/gdm.d/00-login-screen
Update the file with the following
[org/gnome/login-screen]
disable-user-list=true
write and close the file
Lastly run dconf
dconf update
Now that the login screen is fixed, lets check the network. runing an ifconfig -a shows we have the virbr0 and virbr0-nic.
In some testing I have had issue with the View agent trying to use this adapter instead of the correct one. Since I have no applications that use this, I am disabling it all together.
To disable the nic and service run the following:
/bin/systemctl stop libvirtd.service
/bin/systemctl disable libvirtd.service
go ahead and reboot the VM.
Once the VM reboots you should no longer see any users listed
And once you login you can check that the additional nics are gone:
We are now ready to install the Horizon Agent!
Download the agent, and copy or move it to the /tmp/ folder
untar the agent
tar -xzvf VMware-horizonagent-linux-x86_64-7.6.0-9857537.tar.gz
At this point you can choose your install options, the basic is ./install_viewagent.sh -A
I have added the -f for fips, and -U for USB Redirection.
Once the install is done it will look like this
Go ahead and reboot the VM, and log back in.
Once you are logged back in, open a terminal.
We need to integrate the VM into Active Directory. This requires us to download bis-open, and join the VM to the domain.
sudo su
wget https://github.com/BeyondTrust/pbis-open/releases/download/8.7.0/pbis-open-8.7.0.478.linux.x86_64.rpm.sh
chmod 777 pbis-open-8.7.0.478.linux.x86_64.rpm.sh
./pbis-open-8.7.0.478.linux.x86_64.rpm.sh
once pbis-open installs, we will join the VM to the domain.
rune the following, change the DOMAIN.COM to your dns domain , and DOMAIN to your net-bios domain
/opt/pbis/bin/domainjoin-cli join DOMAIN.COM administrator
/opt/pbis/bin/config UserDomainPrefix DOMAIN
/opt/pbis/bin/config AssumeDefaultDomain true
/opt/pbis/bin/config LoginShellTemplate /bin/bash
/opt/pbis/bin/config HomeDirTemplate %H/%U
once you have run all the commands with out error, reboot the VM.


Comments
Post a Comment