Welcome to part 2 of deploying Red Had Enterprise Linux as Horizon View Instant Clones.
In this section we will go through installing RHEL.
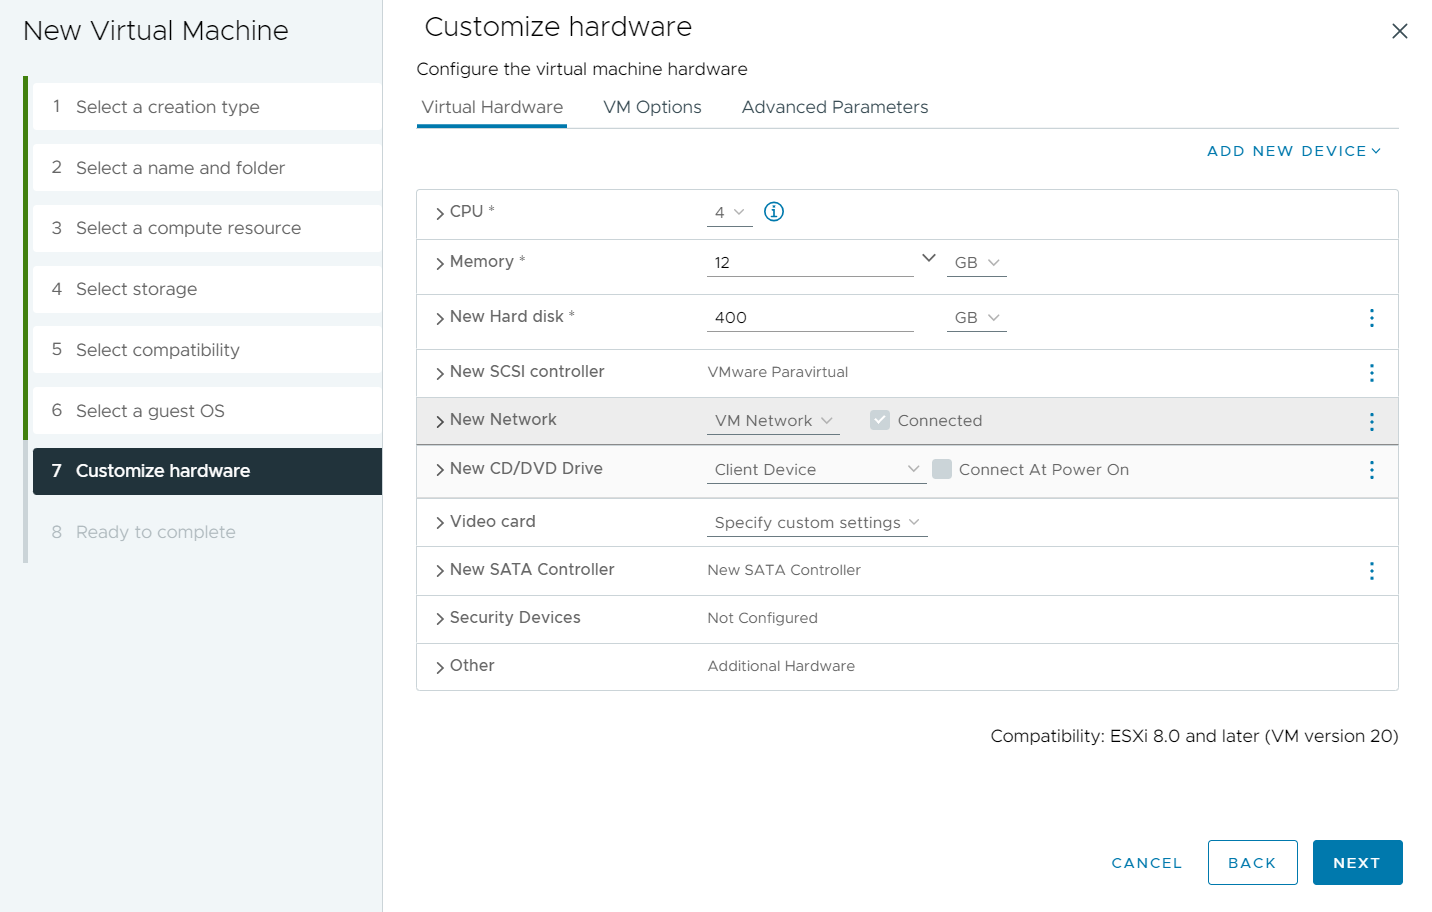
As you should have already created the
VM in part 1, go ahead and power on the VM and open a console to the VM (I prefer to use VMware workstation , however a browser is just fine)
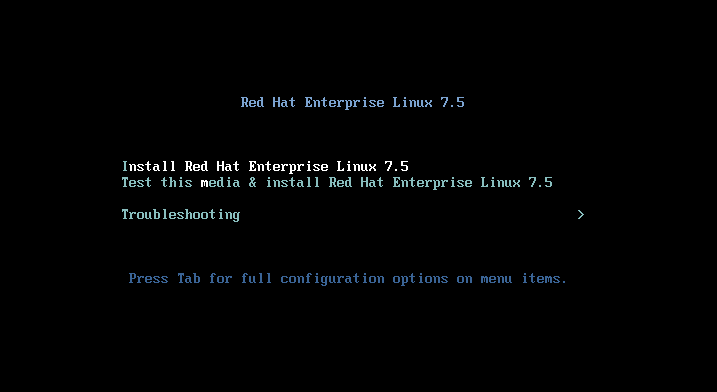
Once the OS starts make sure to select "Install Red Hat Enterprise Linux 7.5", and hit enter.
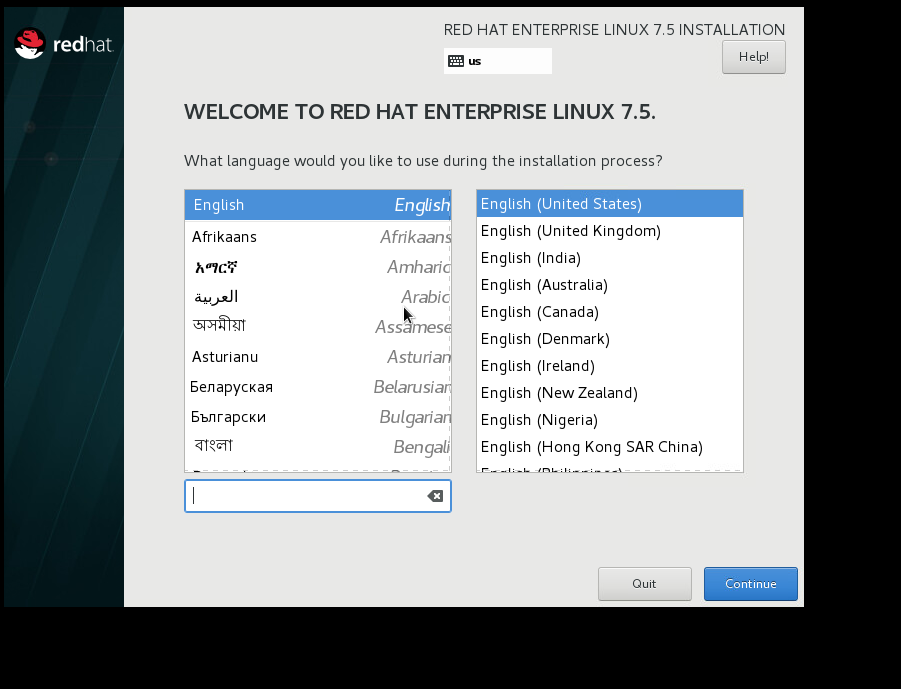
Next you are prompted for your language
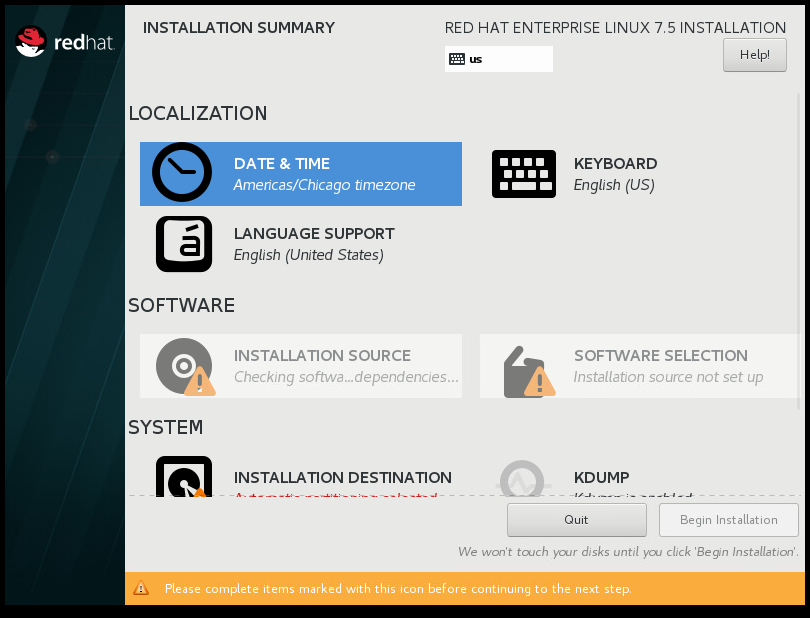
Next you will be taken to this screen. While its checking the 'Installation source' Make sure to set the Date and Time'
Scroll down and click "Instillation Destination", for my super basic install, I chose to let RHEL auto configure partitioning. Click Done at the top left
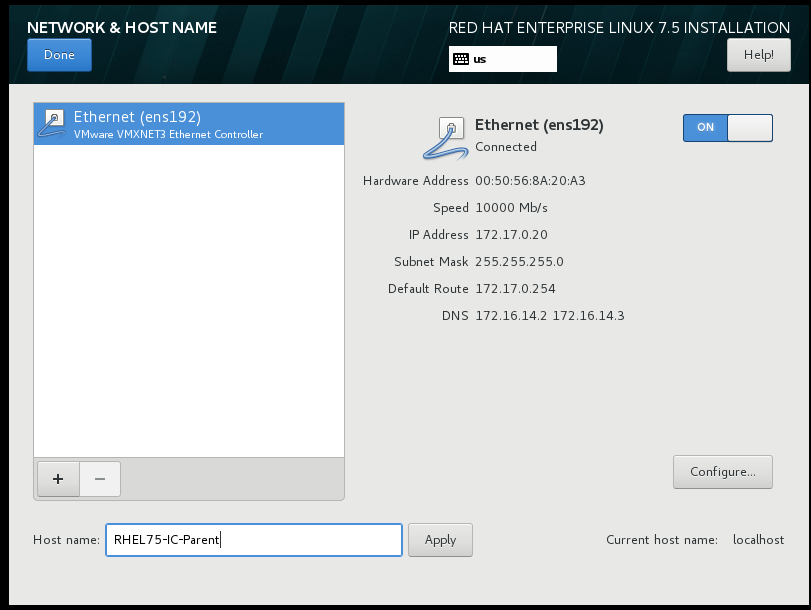
No change your network settings. For whatever reason RHEL starts with the network disconnected.
Update the Hostname at the bottom (easiest is to use the VM name), and click apply.
Turn the network on, then click Configure at the bottom:
Go all the way to the right click IPv6 Settings, and set to ignore (if you are not using IPv6)
Go back to IPv4 and make any changes you need there. In my environment everything that is needed is provided through DHCP so that is where I left it. Since these are for Instant clones, this should for the most part be the same for you.
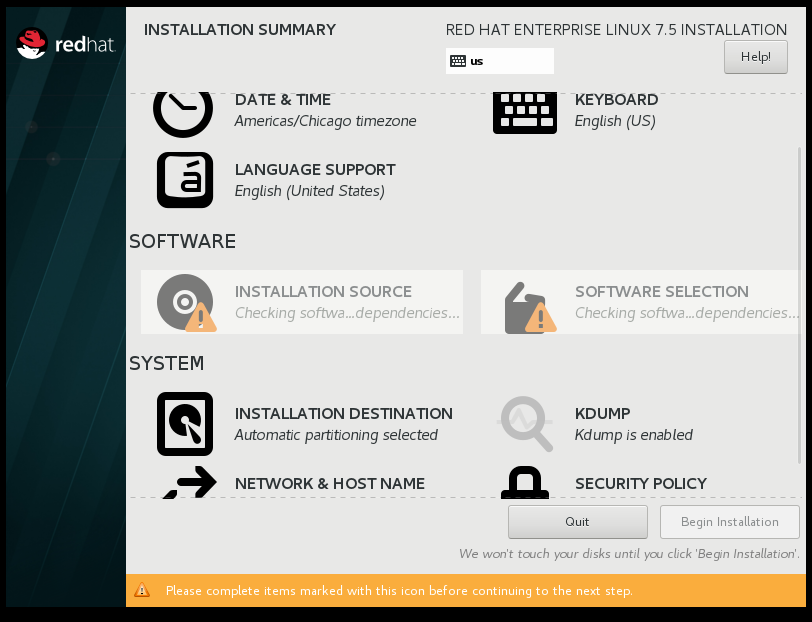
This will take you back to the main install screen, if its ready click Software Selection.
The only thing that is really needed is the GNOME desktop, however I added the following on the right for my setup.
This will take you again back to the main screen.

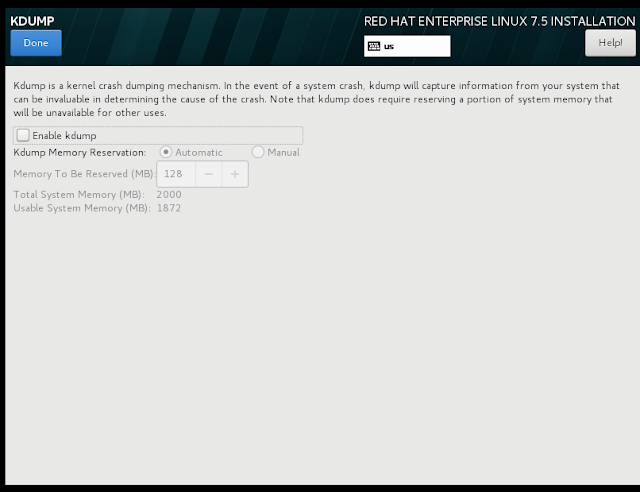
While Waiting for dependencies to be check , I disable KDUMP as these are basic VMs.
Once all dependencies are met you can click [Begin Installation]
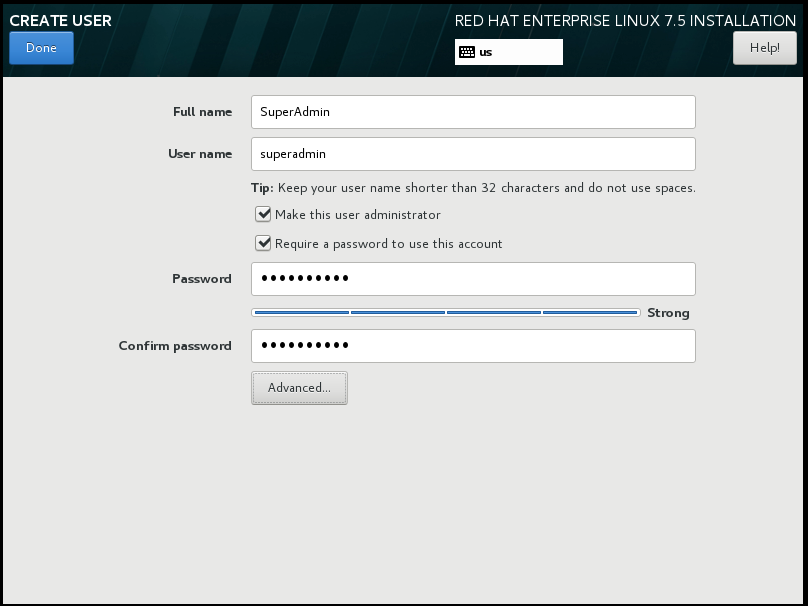
While the install is running you must set the Root password. Im not sure if you have to create a use, but I create an admin user any way
Once the install completes you will be prompted to reboot
You will then need to review and accept the License agreement, and setup subscription if you have one.
When all done you will be presented with the login screen. At this point I shutdown the VM from the power button at the top right, and take a snapshot. This way if I mess something up, I don't have to repeat the install process.
Once the Snapshot is created we can begin customizing the image and installing the Horizon Agent.
We will go over this in Part 3


Comments
Post a Comment